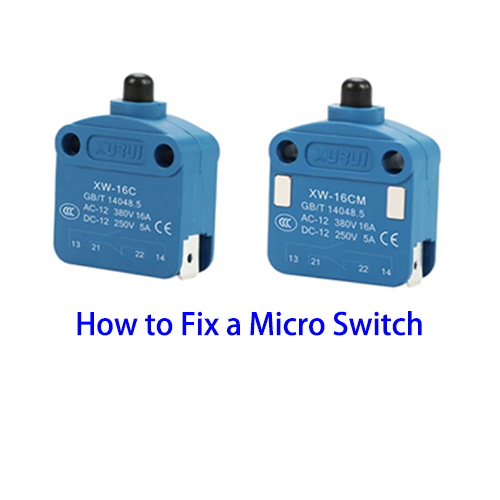
Soldering a micro switch requires precision and care to ensure a proper connection and the long-term functionality of the switch. Here is a step-by-step guide on how to solder a micro switch.
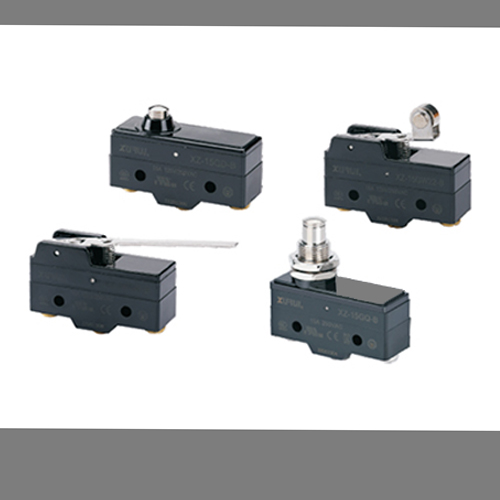
1. Gather the Necessary Tools and Materials
●Soldering Iron: A temperature-controlled soldering iron with a fine tip is essential. Set the temperature according to the type of solder you are using. For most common solders, a temperature between 350°C - 400°C (662°F - 752°F) is suitable.
●Solder: Use a fine-gauge solder with a rosin core. This type of solder melts easily and the rosin core helps in cleaning the joint during the soldering process.
●Desoldering Pump or Wick: In case you make a mistake or need to remove old solder, a desoldering pump or wick is necessary.
●Helping Hands or a Vice: These tools will hold the micro switch and the circuit board in place, allowing you to have both hands free for soldering.
●Flux: Although the rosin core in the solder provides some flux, additional liquid flux can be helpful for better wetting and joint formation, especially for more challenging soldering tasks.
2. Prepare the Micro Switch and the Circuit Board
●Inspect the Micro Switch: Check the micro switch for any physical damage or defects. Ensure that the terminals are clean and free from any oxidation or debris. If there is any dirt or oxidation, gently clean the terminals with a fine abrasive paper or a small wire brush.
●Prepare the Circuit Board: Identify the correct location on the circuit board where the micro switch will be soldered. Clean the area around the pads if there is any residue or dirt. You can use isopropyl alcohol and a cotton swab for this purpose. Make sure the pads are flat and in good condition. If the pads are damaged or lifted, it may be necessary to repair or replace them before soldering.
3. Position the Micro Switch
●Place the micro switch in the correct position on the circuit board. Align the terminals of the micro switch with the corresponding pads on the circuit board. You can use the helping hands or a vice to hold the switch and the board firmly in place. Make sure the switch is level and properly oriented. Double-check the alignment before proceeding to soldering.
4. Tinning the Iron and the Terminals
●Heat up the soldering iron and wait until it reaches the set temperature. Once the iron is hot, tin the tip of the soldering iron by melting a small amount of solder on it. This helps in heat transfer and makes it easier to apply solder to the terminals.
●Next, tin the terminals of the micro switch. Touch the hot soldering iron tip to the terminal and then apply a small amount of solder. The solder should flow evenly over the terminal, forming a thin, shiny coating. Be careful not to apply too much solder as it can cause bridging between the terminals or other components.
5. Soldering the Micro Switch
●Place the tip of the soldering iron on the joint where the terminal of the micro switch meets the pad on the circuit board. Hold the solder wire near the joint and let the solder melt and flow into the joint. The solder should form a smooth, concave fillet around the terminal and the pad. Do not move the micro switch or the circuit board while the solder is cooling. This usually takes a few seconds.
●Repeat this process for each terminal of the micro switch. Make sure that each joint is properly soldered and there are no cold joints (where the solder did not fully fuse with the components). A cold joint can lead to a weak electrical connection or intermittent operation of the micro switch.
6. Inspect the Soldered Joints
●After soldering all the terminals, carefully inspect the joints. The joints should be smooth, shiny, and have a good amount of solder coverage. Check for any signs of bridging between terminals or excess solder that could cause short circuits. If you find any defects, you can use the desoldering pump or wick to remove the solder and re-solder the joint.
●Also, check the alignment of the micro switch again. Ensure that it has not shifted during the soldering process. If it has, you may need to reheat the joints and adjust the position of the switch.
7. Clean the Circuit Board
●Once you are satisfied with the soldered joints, clean the circuit board. Use isopropyl alcohol and a cotton swab to remove any flux residue or excess solder particles. This helps in preventing corrosion and ensuring the long-term reliability of the circuit. Let the circuit board dry completely before powering up the circuit or using the device.
By following these steps, you can successfully solder a micro switch to a circuit board. However, practice and patience are key to achieving high-quality soldered joints. If you are new to soldering, it may be beneficial to practice on some scrap circuit boards before working on a critical project.
