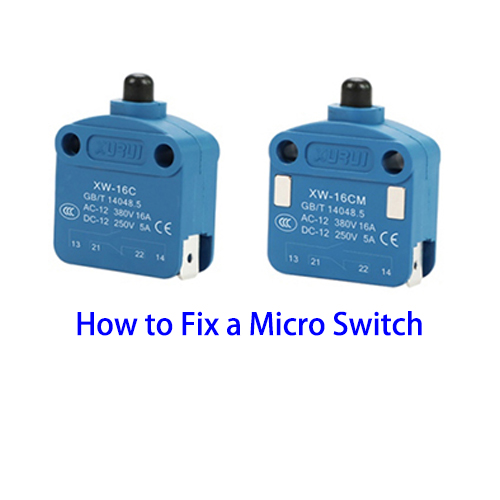
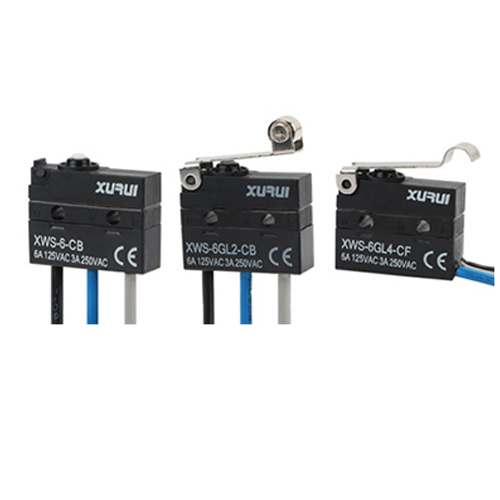
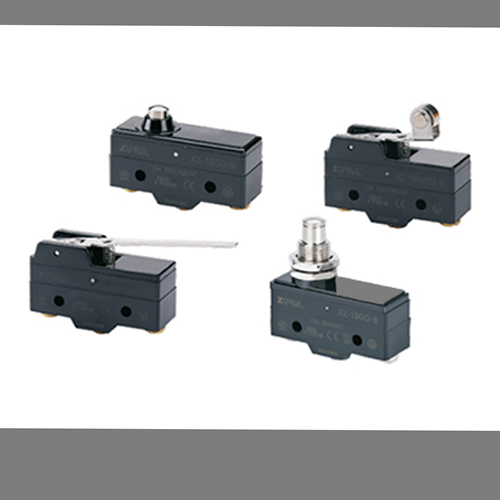
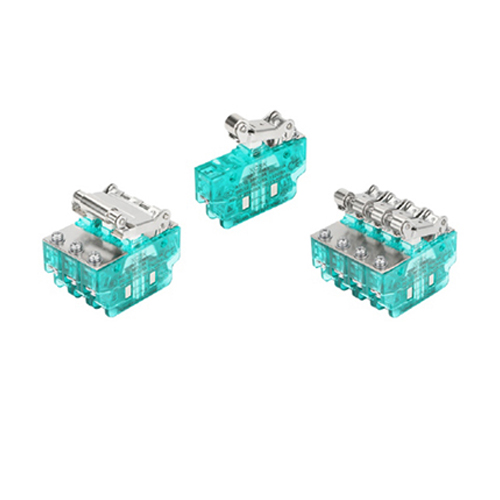
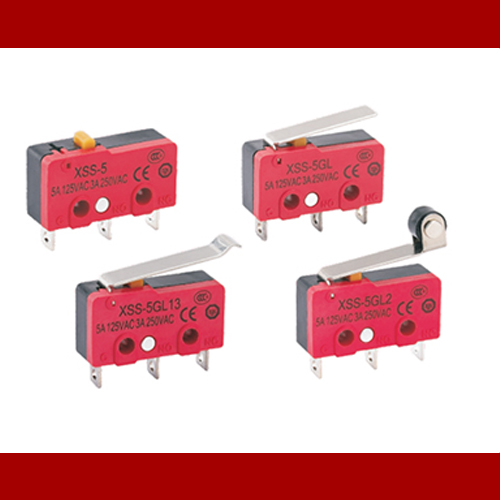
Micro switches are common in many systems. Malfunctions require proper repair. Here's a guide:
1. Safety Precautions
Before repair, turn off the power to the associated device/system to avoid shock. Wear safety gloves and glasses.
2. Diagnosis
●Visual Inspection
Carefully check the micro switch for cracks, loose/broken parts, and a damaged lever/button. Also, examine the terminals for corrosion or dirt that could affect the connection.
●Testing with a Multimeter
Set the multimeter to resistance or continuity mode. Connect probes to the terminals and test the normally open (NO) and normally closed (NC) contacts in both resting and actuated states. Incorrect readings signal a switch issue.
3. Disassembly
●Removing the Micro Switch
If the micro switch is part of a larger device or circuit board, carefully remove it. This may involve unscrewing it from its mounting position or detaching it from connectors.
●Opening the Switch Housing
Use a small screwdriver or other appropriate tool to carefully pry open the housing of the micro switch. Be cautious not to damage the housing or the internal components.
4. Internal Component Inspection and Repair
●Contacts Inspection
Examine the contacts. If they are dirty or oxidized, clean them using a fine abrasive paper or a contact cleaner. Gently rub the contacts to remove any debris or oxidation layer.
Check if the contacts are bent or misaligned. If so, use a small pair of pliers to carefully straighten and align them.
●Spring and Lever Inspection
Inspect the spring. If it is broken or weakened, replace it with a new spring of the same type and size.
Check the lever or button mechanism. If it is stuck or not moving smoothly, lubricate it with a small amount of silicone-based lubricant. Remove any dirt or debris that may be causing the obstruction.
5. Reassembly
●Putting the Components Back
Once you have completed the necessary repairs or replacements, carefully put the internal components back into the micro switch housing. Ensure that everything is properly aligned and seated.
●Closing the Housing
Close the housing of the micro switch and secure it. Make sure it is properly sealed.
●Reinstalling the Micro Switch
Reinstall the micro switch in its original position in the device or circuit board. Connect any connectors or fasten it with screws as required.
6. Testing After Repair
●Power On and Functional Testing
Turn on the power supply to the device or system. Test the micro switch by actuating it in the way it is normally used. Check if it functions correctly and if the electrical connections are restored.
Multimeter Recheck
Use the multimeter again to test the micro switch. The resistance or continuity readings should now be within the normal range, indicating that the repair was successful.
By following these steps, you can effectively repair a malfunctioning micro switch and restore its functionality in the electrical or mechanical system it is part of. However, if you are unsure or if the micro switch is severely damaged, it may be advisable to replace it with a new one.
